Table of Contents
Making an effective yard sign is more tedious than one would probably think. First, you need a design or an image you want to put on a sign. Afterward, you will need to make a stencil for that image; that alone is a multi-step process. Furthermore, the stencil gets matched with a piece of corrugated plastic, so the design registers correctly with a blank sign. We’ll take some ink and transfer the image onto the corrugated plastic. Finally, you have to let the ink cure for a long-lasting, permanent finish that will stand up to any elements and conditions it may be up against. Now that you’ve done all the hard work, you’ll have a high-quality and durable plastic sign ready to start working for you.
Making a Yard Sign Stencil
Let’s back up and start from the beginning once you choose a design or image you want to use for your business advertisement or campaign sign, it’s time to make a transfer film. This film, in essence, is the negative image of your sign. With the film made, we take it to a dark room and transfer it to a silk screen that has already been coated with emulsion. The emulsion is a photo-sensitive material that comes in the form of a liquid. It’s extremely viscous and needs to have sensitizer added to it. This process makes the emulsion photo-sensitive. Take the mixed emulsion and add a very thin coat to the screen; wait for it to dry. The screen is now stencil-ready.
We take the film from earlier, place it on an exposure table, and then cover it with the prepared screen. Go ahead and fire up that exposure table so it can begin to emit ultraviolet light. Some emulsion on the screen will come into contact with that UV light. As a reaction, those areas of emulsion get trapped on the screen. The film blocks out the rest of the light from touching the rest of the emulsion. For about 30 seconds, we wait for the UV light to do its thing.
Time to rinse. Remove the screen from the exposure table for this next part. Hit the screen with water, and the unexposed emulsion should fall right out. This works best with pressurized water. Once you’ve gotten the image rinsed out, you’re left with the stencil that will be used for making the actual yard sign. Again, it needs to dry.
Print-Ready Yard Sign Templates
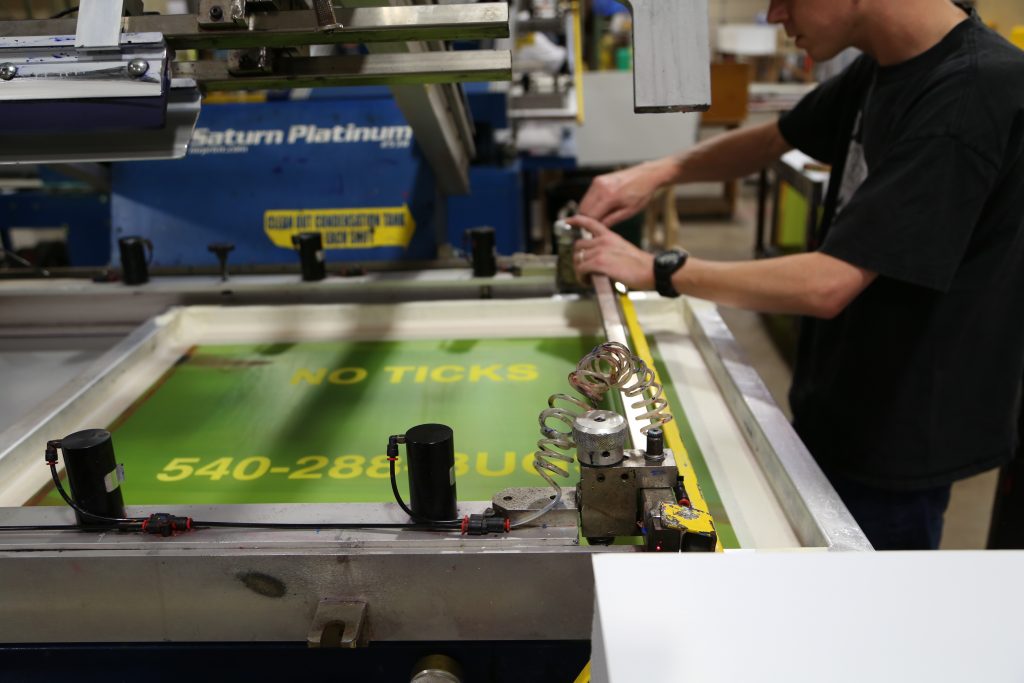
Now we’re ready for printing. From here, we put the stencil onto a printing press or printing table and firmly secure it. This will stop the screen from moving during the printing process. Now we have to register a blank sign under your stencil, then add some ink. This is usually UV ink, so it will last longer outdoors. Next, you will have a squeegee that swipes the ink through the entire image from top to bottom. If done correctly, you now have a freshly printed yard sign with wet ink. The final step is to leave your sign out to dry, or you can cure it quickly with direct exposure to sunlight.
This is just one description of how the screen printing process can be done; however, there are multiple ways of accomplishing the same task. Here at Super Cheap Signs, we use automated presses to do the same thing and achieve a higher level of productivity. Hopefully, this helps give a better understanding of how an idea turns into something that can be showcased for all to appreciate.
